Creating a Kaltura Video on a Desktop
To submit a Kaltura-based assignment, you first have to record your video. Create New Multimedia Content Using Kaltura Capture (5:54 minutes) provides an overview of the directions below (Create New transcript).
Download Capture
Capture is a desktop recorder that allows you to create, publish, and view Kaltura recordings. You can record your screen, your webcam, both, or just your voice.
- In your course, select My Media.
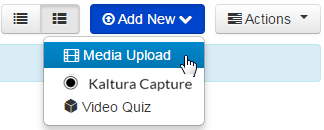
- From the Add New list, select Kaltura Capture.
- Select Download for Windows or Download for Mac.
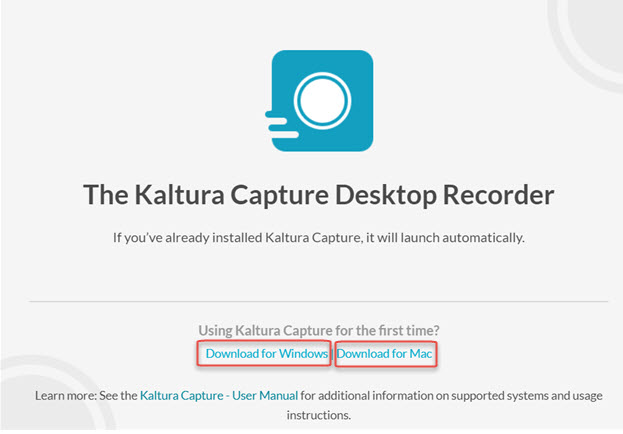
- Follow the instructions for downloading the recorder.
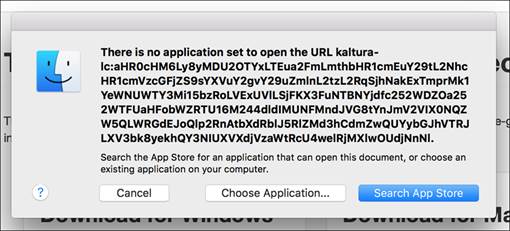
- On a Mac, select Cancel if the following message appears.
- Double-click the Applications icon. Select the Kaltura Capture Desktop Recorder icon and drag it to the Applications folder.
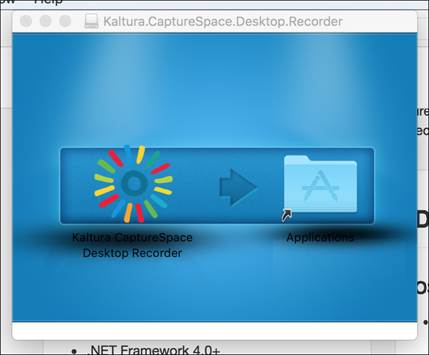
- Double-click the Applications icon. Select the Kaltura Capture Desktop Recorder icon and drag it to the Applications folder.
- On a Mac, select Cancel if the following message appears.
Recording with Capture
- You are strongly encouraged to write a script before recording.
- Select My Media from the course navigation menu in Canvas.
- Select Capture from the Add New list.
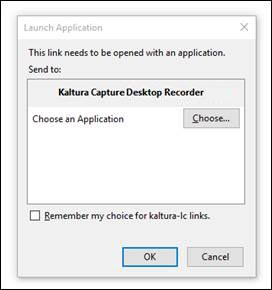
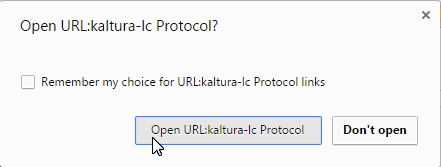
- Select OK or Open (a different message may appear than the ones shown below).
- The Kaltura Capture Desktop Recorder opens.
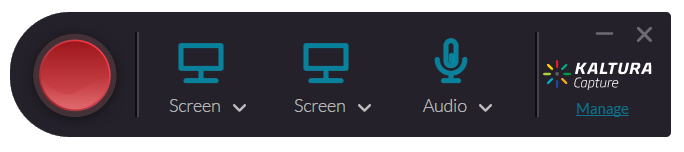
- Choose the type of recording you want to create from the Record tab. Information about using each options can be found in the Kaltura Personal Capture User Guide (PDF) and in the Kaltura Personal Capture Recording Options.